Friday 16 December 2016

Falkirk Conclusion


This is the second half of play of the scenario.

Scots are engaged on the left flank by numerous Government troops.
This ended badly for the Jacobite cause.

Lord Argylle and his French advisor Capitaine Homarde watch the forward
assault dwindle before the Hanovarian line. A small cadre of highlanders
form behind the Lord to muster the retreating remnants.

A mighty clash of horse and highland swords. The Jacobites stand and the close
combat is a draw with light casualties for each side. The battle closes with no rematch.

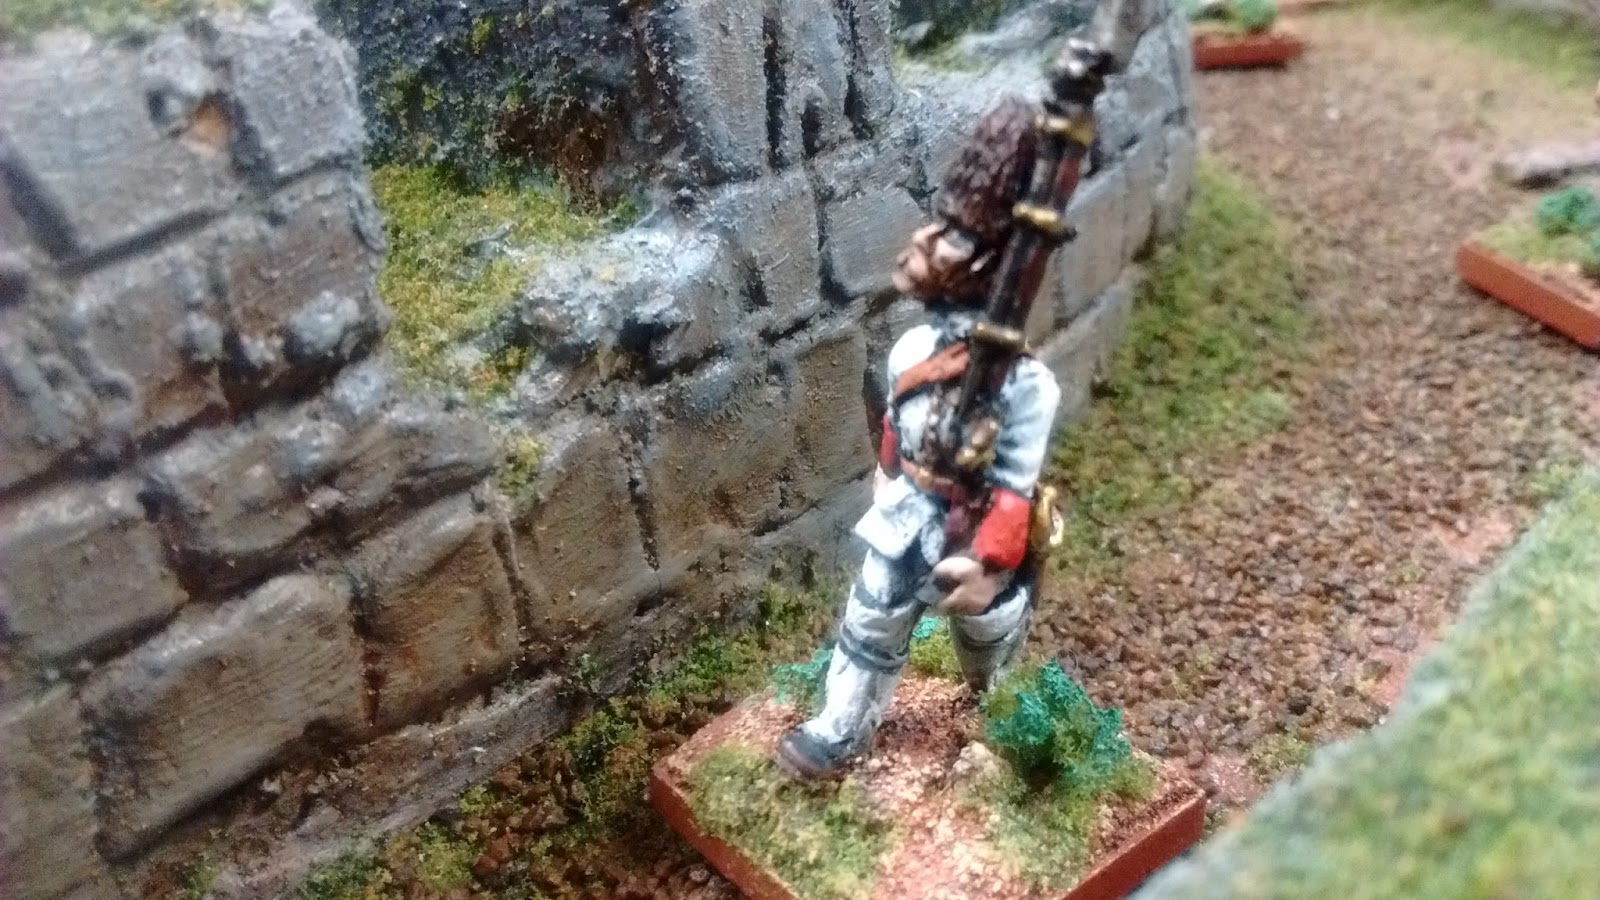
The Royal Ecossois is lectured by French advisor, Chevalier-Capitaine Candias.
Bold highlanders forward vainly attempt to breach the Hanovarian line.
Lord and Lady Murray look on as the Jacobite charge on the right flank
cannot manage a breach.

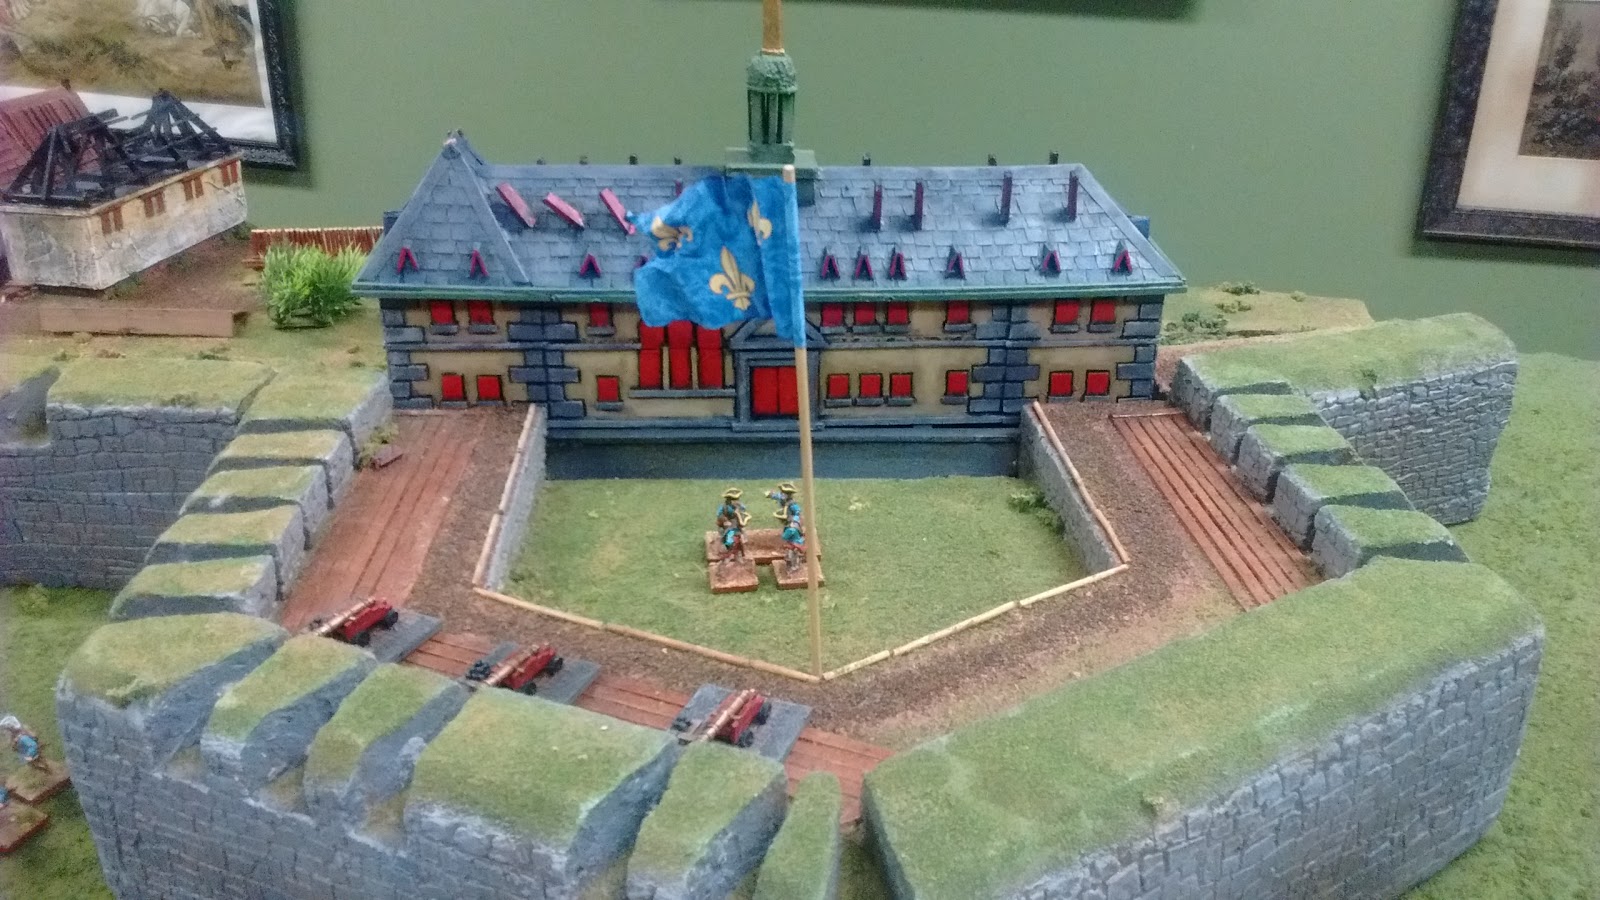
French Regulars guard the Bonnie Prince on the high ground.
Due to the horrid weather conditions, the visibility is poor to the face of battle.
The after battle report will not favour the Jacobites.
Their retreat to Carlyle and back to Scotland is now assured.

Last Jacobites on the right flank meet too much resistance from Hanoverians and Glasgow militia.
They retreat into the mists soon after this picture.
The Government camp can be seen in the close distance....so close to the battle line.
To the top left of the shot, General Henry Hawley can be seen with his footmen.
He has not clearly seen a single Scot the whole battle due to the poor visibility.
His report to the Duke of Cumberland will prove interesting.

Wednesday 21 September 2016

1755 Beausejour Cangames 2016


The Siege of Beausejour game began with the commencement of trench works from Mount Watley toward the Kings Bastion. The first few turns saw artillery duelling between the Fort guns and the two British batteries. Summary: the British lost significantly more guns in the artillery duels due to French accuracy. Event cards enhanced the French artillery a number of times. Despite superior performance by the fort guns, there were few opportunities of spare shots at the advancing trench works. The British accomplished a number of successful artillery hits to the interior of the fort. This increased significantly when the mortars were moved forward to close range at the final lateral trench. The escalade soon followed but preparations were not complete enough. The British companies of regulars were raked by cannister from two remaining gun positions, decimating their numbers and leaving the critical assault to the Bostonian Militia. LCol. Monckton himself lead the final assault.
British battery overlooks the Fort 
British mortars deploy to the forward lateral trench 
A scene at the forward bastion

British battery moves forward - two guns and two howitzers

British Regulars and Grenadiers begin the escalade 
Escapade by the Bostonians 
Escapade of Bostonians supports LCol. Monckton 


1745 Prestonpans - The Jacobite Rebellion


This scenario played the early morning attack of the Jacobites on the army of the Government comprised of garrison and second line troops. The event card draws aided the Jacobite victory by following events of the actual battle: i) The Government cavalry left the field due to a lack of leadership and caused Government morale to waiver, ii) The untried nature of the Government army (garrison companies not used to working together in battalions and components of invalid units mixed in) saw disruptions in battalion orders and from the field commander down, iii) Jacobite cavalry siezed on the opportunity of the retreating Government cavalry and further threatened the left Government flank.
Other misfortunes for the Government included the advancement of highland infantry against the British batteries, the invalid crews failing to perform and the gun positions completely overrun.  
The Field of Battle - Prestonpans, with the Grand Duc Du Fromage in the far distance
View from the Jacobite battery
View from the cattle pens behind the Government line
Government left flank still forming up
View from General Cope's position, centre of the Government line
Government left flank as seen from the adjacent farm
Government right flank, Militia still forming up
Government batteries on the right flank


Government batteries prepare for battle
Jacobite horse on the far right flank

Tuesday 20 September 2016

Fort Neccessity 1754

The little fort and trench system saw significant action in the scenario. The French force advanced directly on the trench positions and did not invest in positions on the flanks. This proved to be costly in terms of casualties. The French regulars advanced in line, as is common for the period - and actually reminiscent of another battle in the New World near Lake George where Baron Dieskau employed this same tactic and lost. The scenario played out exactly that way. The French regulars poured a very disciplined line of firepower into entrenched positions which returned fire accurately at them in the open. 
Despite the losses at the center, the French eventually worked their way around to the flanks with irregulars and native allies, causing enough casualties to make Washington capitulate.


A View of the Trenches
The "Fort" - a 50' diameter quickly constructed palisade around a leaky hut where the powder is stored
George Washington looks out from the watery trenches to view the advancing French 
New England Irregulars watch for the French

British Regulars sternly hold the entrance


Natives allied to the French advance quickly

French troops follow the trail blazed by their Native allies
French regulars move to position

Courer-du-bois move to the flank of the battle
French Grenadier company sees a moose...

The New England force takes defensive positions


Siege of Louisbourg 1758


This scenario is only part of the entire siege game, and describes the French sortie out to attack the British trenches to disrupt the progress of work. 
Further posts will demonstrate other aspects of the whole siege: i) the strategic turns of bombardment and preparations on both sides, ii) the attack on the breach, iii) the night raid in the harbour, and iv) Kennington Cove shore landing- where the British first gained foothold on the Isle Royale.

French Companie-de-la-Marin take up positions to throw a musket ball at any redcoat venturing onto the glacis.

Companie-de-la-Marin muster at the courtyard of the Governor's Mansion. 

French Bombardiers ready their positions for the coming artillery duels.

View onto the Demi-Bastion

French Grenadiers sortie out of the Gate
French attempt to dismantle British siege works during a sortie.

Scottish Highlanders counterattack to drive the French sortie forces out of the trench line.
French regulars with a native ally scout provide support on the sortie attack.
British sentry calls for a password as French advance under cover of early morning dark.

Companie-de-la-Marin advance through empty trench works in the early morning, after dispatching the few sentries.

French Regular infantry support the sortie, awaiting to advance from the covered way.

French Grenadiers lead by their Capitaine  on horse.

A capitaine of the Companie-de-la-Marin leads his company along the covered way  unseen by  the British.
.
.